Why Your Smoke Alarm Still Chirps After a Battery Change—and What to Do
By WowPebble Editorial
A fresh battery doesn’t always stop a smoke alarm’s chirp. Find the likely cause, try safe troubleshooting steps, and know when it’s time to replace the unit.
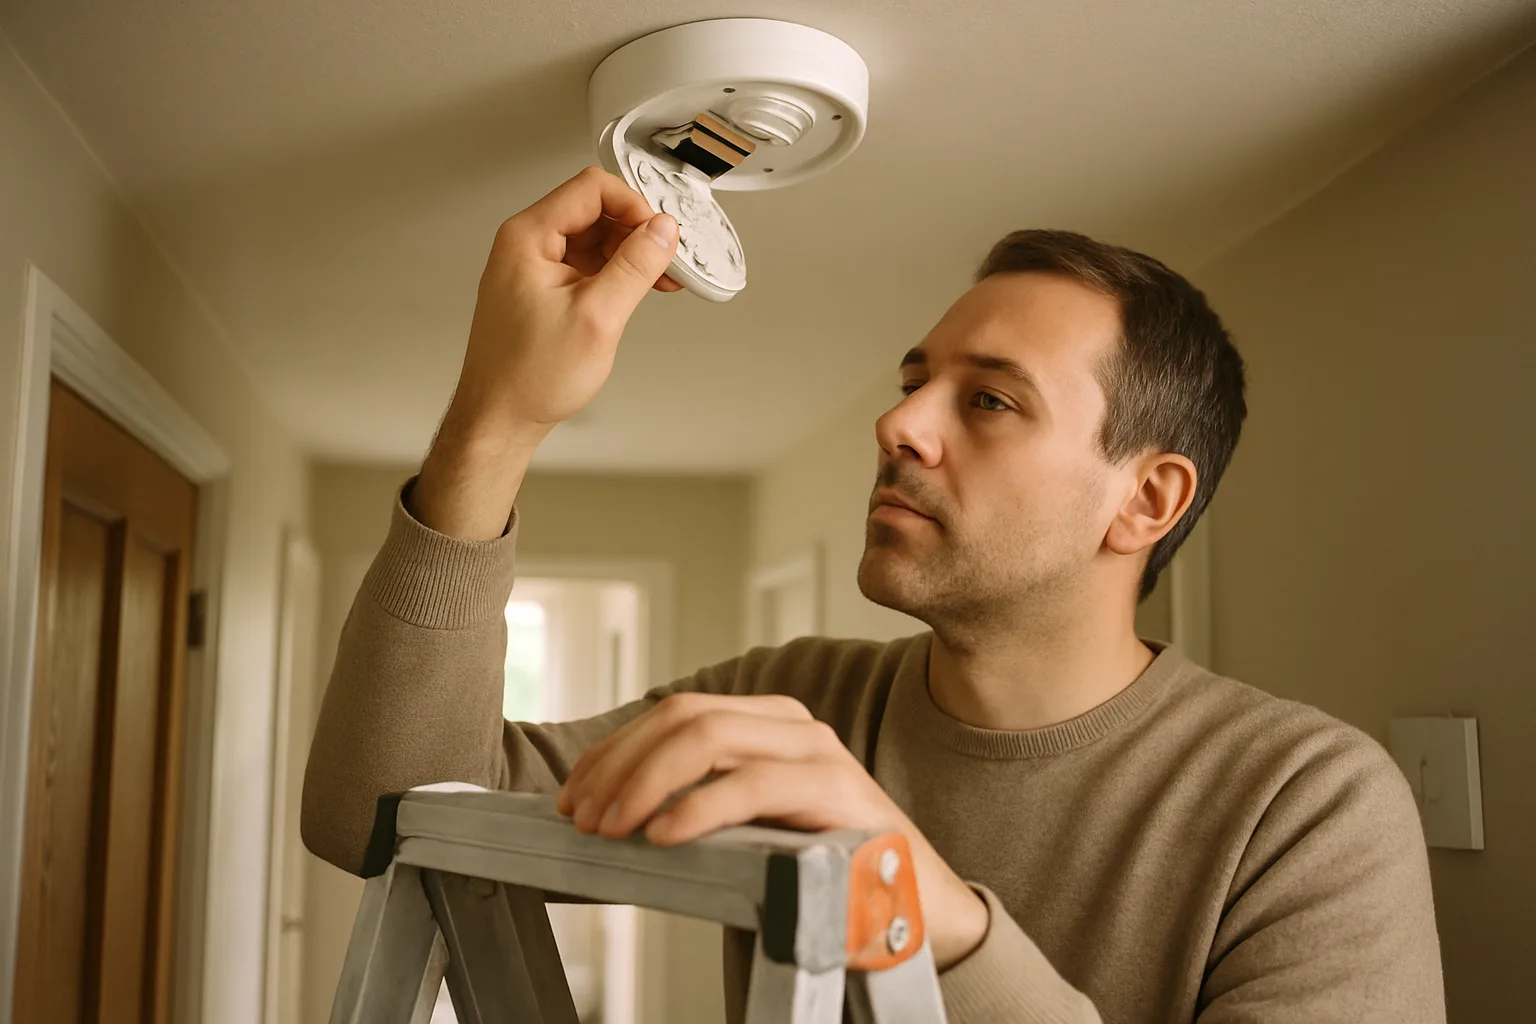
A smoke alarm that keeps chirping after you’ve changed its battery can feel like a small mystery with a very annoying soundtrack. The good news is that a new battery isn’t the only thing these alarms need: a loose connection, dust, a backup battery, or an aging alarm can all keep the sound going. The key is to identify what the signal means before trying to silence it.
First, distinguish a periodic chirp from a full alarm. A brief chirp at intervals usually signals a problem with the alarm or its power. A loud, continuous alarm—or a repeating alarm pattern—may indicate smoke or another urgent hazard. If you see smoke or suspect a fire, get everyone outside and call emergency services. Don’t spend time troubleshooting an alarm that may be warning you of danger.
1. Check the battery and its fit
Start with the battery, even if it’s new. Confirm that it’s the type specified on the alarm or in its manual, and that the positive and negative ends are facing the right way. A battery that looks similar to the recommended one may not be compatible, and one that isn’t seated firmly may not make reliable contact.
If you have another fresh battery of the correct type, try it. Batteries can be old or depleted before they’re installed, especially if they’ve been stored for a long time. Avoid mixing old and new batteries or using a type the manufacturer doesn’t recommend.
For an alarm with a removable battery drawer, make sure the drawer closes completely. Some models won’t operate properly if the compartment isn’t shut. Check that the battery contacts are clean and undamaged; don’t bend or scrape them aggressively.
2. Look for a backup battery or a different power problem
A hardwired smoke alarm may have a replaceable backup battery or a sealed power arrangement. Identify the exact model and its specified power source rather than assuming there is another battery compartment to find. Kidde lists several model-dependent chirp causes, including low battery, malfunction and end-of-life conditions; the sound alone is not a universal diagnosis.
If the alarm is hardwired, a chirp can also point to a power interruption or another issue with the unit. Don’t remove the alarm’s wiring or attempt electrical repairs. If it continues to chirp after you’ve checked the battery and followed the manufacturer’s instructions, contact a qualified electrician, your landlord, or the alarm manufacturer as appropriate.
Some newer alarms have a sealed battery that cannot be replaced. If one of these is chirping, check its manual and date label. A sealed battery is not an invitation to pry open the alarm; the unit may need to be replaced.
3. Close the battery compartment and reset the alarm
After installing a battery, follow the reset instructions for your model. Some alarms require you to press and hold a test or reset button; others use a different process. The exact steps and how long to hold a button vary, so use the manual or the manufacturer’s instructions rather than guessing.
If the alarm is hardwired, don’t disconnect it to perform a reset unless the manufacturer specifically tells you to do so and you can do it safely. If you’re unsure, ask a qualified professional for help. Once the reset is complete, test the alarm using its test button. A test button checks the alarm’s function, but it doesn’t replace regular maintenance or a response to a real warning.
4. Remove dust and debris
Dust, small insects, or other debris inside the sensing area can interfere with an alarm and trigger trouble signals. With the unit handled according to its manual, gently clean around the exterior vents using a vacuum’s soft brush attachment or another method the manufacturer recommends. Keep the alarm dry; don’t spray cleaners into it or submerge it.
If the alarm is mounted high up, use a stable ladder and avoid stretching or leaning. If you can’t reach it safely, ask someone who can. Cleaning may help with a dusty unit, but it won’t fix an expired alarm or a faulty electrical connection.
5. Check the alarm’s age
Smoke alarms don’t last forever. Look for a manufacture date or replacement date on the back or side of the unit, and check the manual for its service life. Many smoke alarms are intended to be replaced after about 10 years, but the instructions for your model—and any applicable local requirements—take priority.
The US Fire Administration’s maintenance guidance distinguishes replaceable-battery, long-life and hardwired smoke alarms and directs owners to the manufacturer's instructions. Its ten-year smoke-alarm advice is not a reset code or a service-life rule for every combination/CO detector. Check the exact unit's replacement label.
An alarm near the end of its service life may chirp even after a fresh battery is installed. If it’s expired, damaged, or still gives a trouble signal after the recommended checks, replace the whole unit with a compatible alarm. If you have an interconnected system, make sure the replacement is compatible with the other alarms.
6. Find out which alarm is chirping
In a connected home, the noise can seem to come from a different room than the alarm causing it. Some interconnected alarms also sound together when one unit detects a problem. Look for a flashing indicator or check each alarm’s display and manual to identify the source. Don’t assume the nearest unit is the one with the low battery.
A combination smoke and carbon monoxide alarm may use different patterns for different warnings. Check its label or manual to understand the signals. If you suspect carbon monoxide, leave the building and contact emergency services or your local gas or fire service from outside. Never ignore a warning because it sounds like a routine battery chirp.
What not to do
Don’t leave the alarm without a working power source, remove it and forget to put it back, or cover it to stop the sound. Don’t pull batteries from every alarm to hunt for the source. If the chirping won’t stop, restore protection as soon as possible by following the manufacturer’s instructions, replacing a faulty or expired unit, or getting professional help.
A hush or silence button may temporarily quiet certain alarms, but it isn’t a repair. Use it only as described in the manual, and investigate the signal rather than treating silence as proof that the alarm is working.
Keep the next chirp from becoming a surprise
Check smoke alarms regularly and follow the manufacturer’s guidance for testing and cleaning. Replace batteries as instructed, and make a note of the alarm’s age so you know when the whole unit is due for replacement. If you rent, tell your landlord promptly about an alarm that won’t work or keeps signaling a fault.
A persistent chirp after a battery change usually means there’s another issue to address—not that the alarm should be ignored. Check the battery and its fit, inspect the power source, clean the unit gently, and verify its age. If those steps don’t solve it, use the manual or contact a qualified professional. A quiet alarm is useful only when it’s still ready to warn you.
You might also like
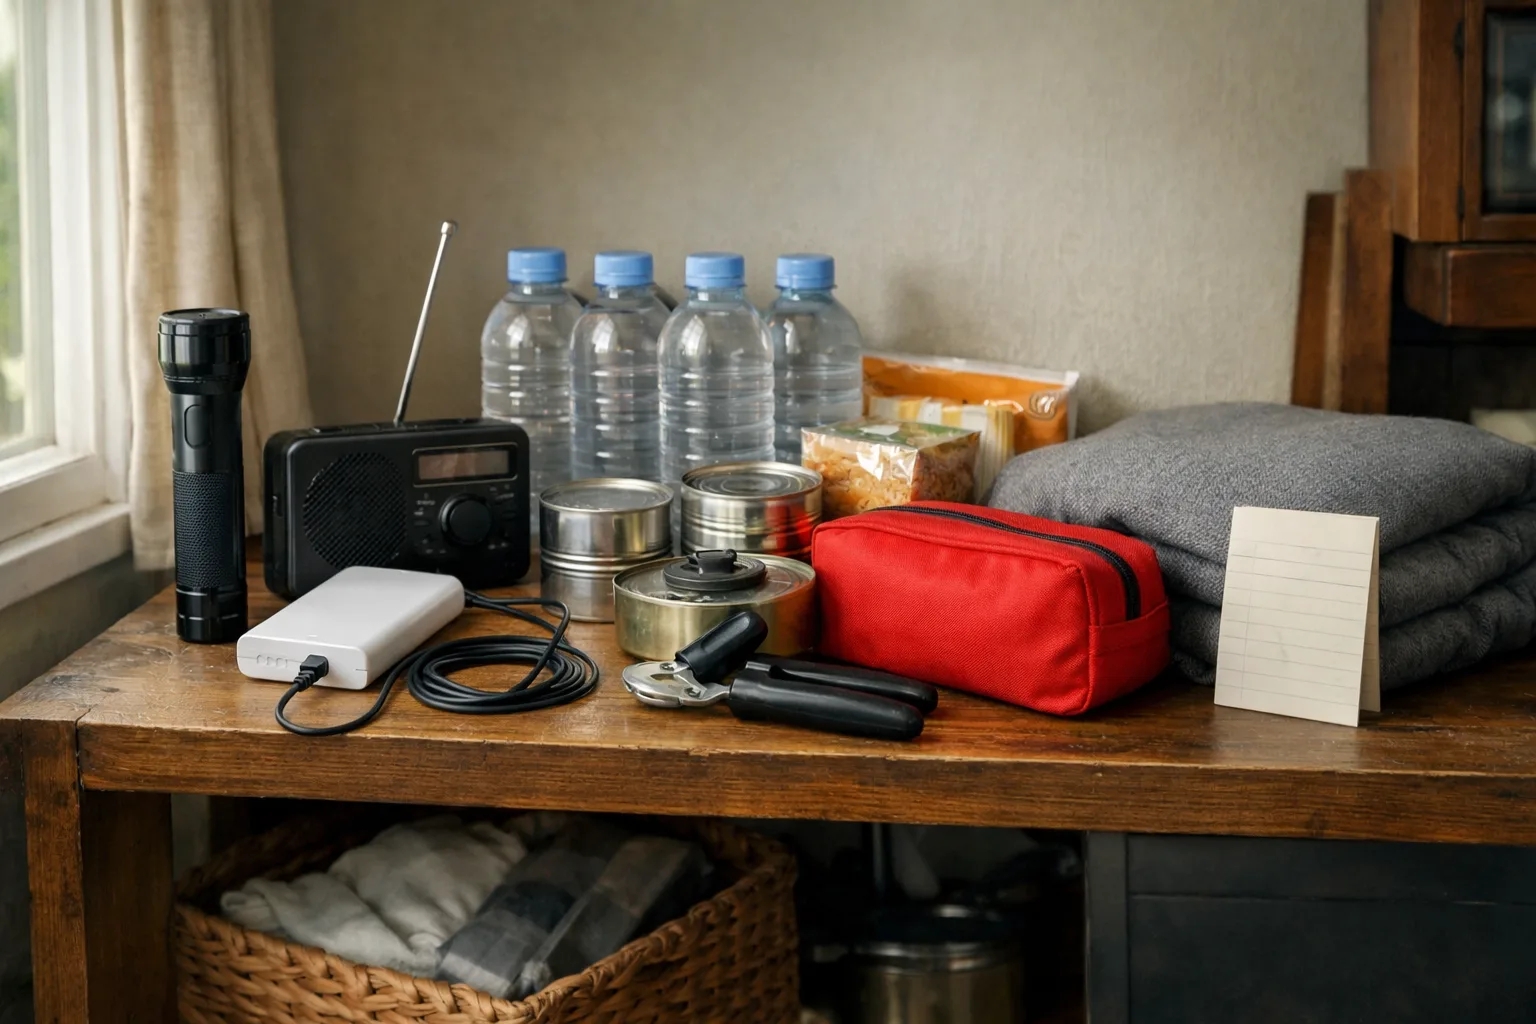
What to Keep in a Home Kit for a Power Outage
Build a practical outage kit with lighting, charged power banks, water, easy-to-eat food, essential medicines and supplies suited to your household.
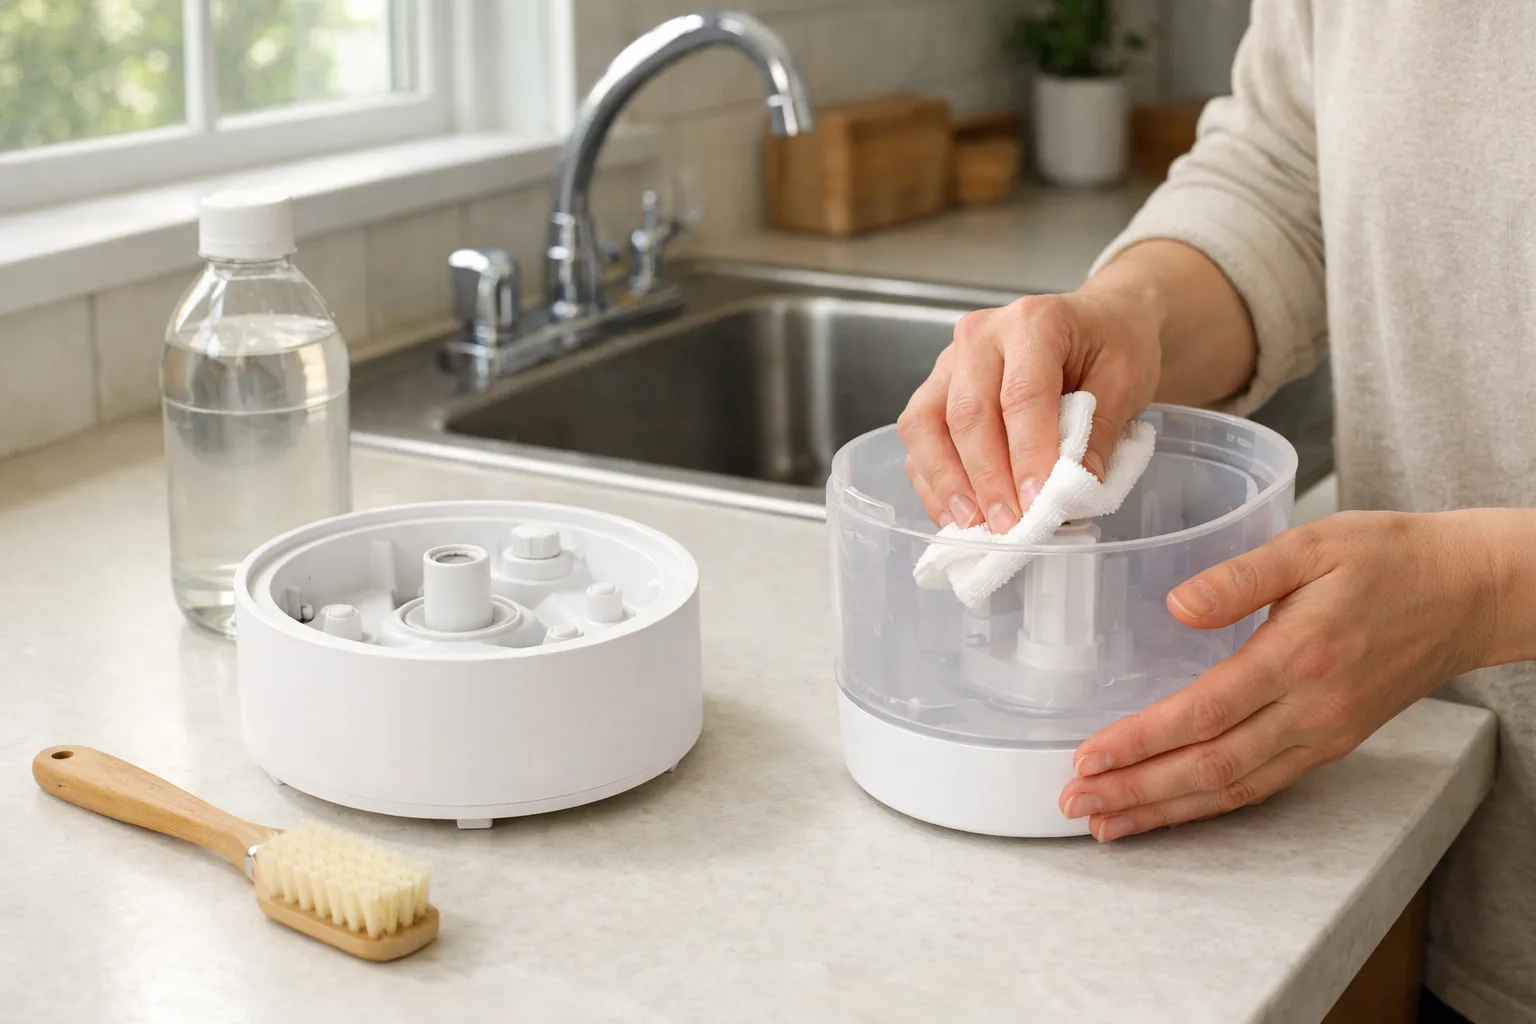
How to Clean a Humidifier and Stop Mineral Buildup
Clean your humidifier regularly to remove scale and reduce residue. Learn how to descale it safely, care for filters and prevent mineral buildup.

How to Remove Burnt Food from a Stainless Steel Pan
Loosen burnt-on food from a stainless steel pan with hot water and gentle scraping. For stubborn residue, add baking soda and scrub without damaging the finish.