How to Remove Sticker Residue from Glass Without Scratching It
By WowPebble Editorial
Lift stubborn sticker glue from windows, jars, and mirrors with gentle methods that soften the adhesive and protect the glass from scratches.
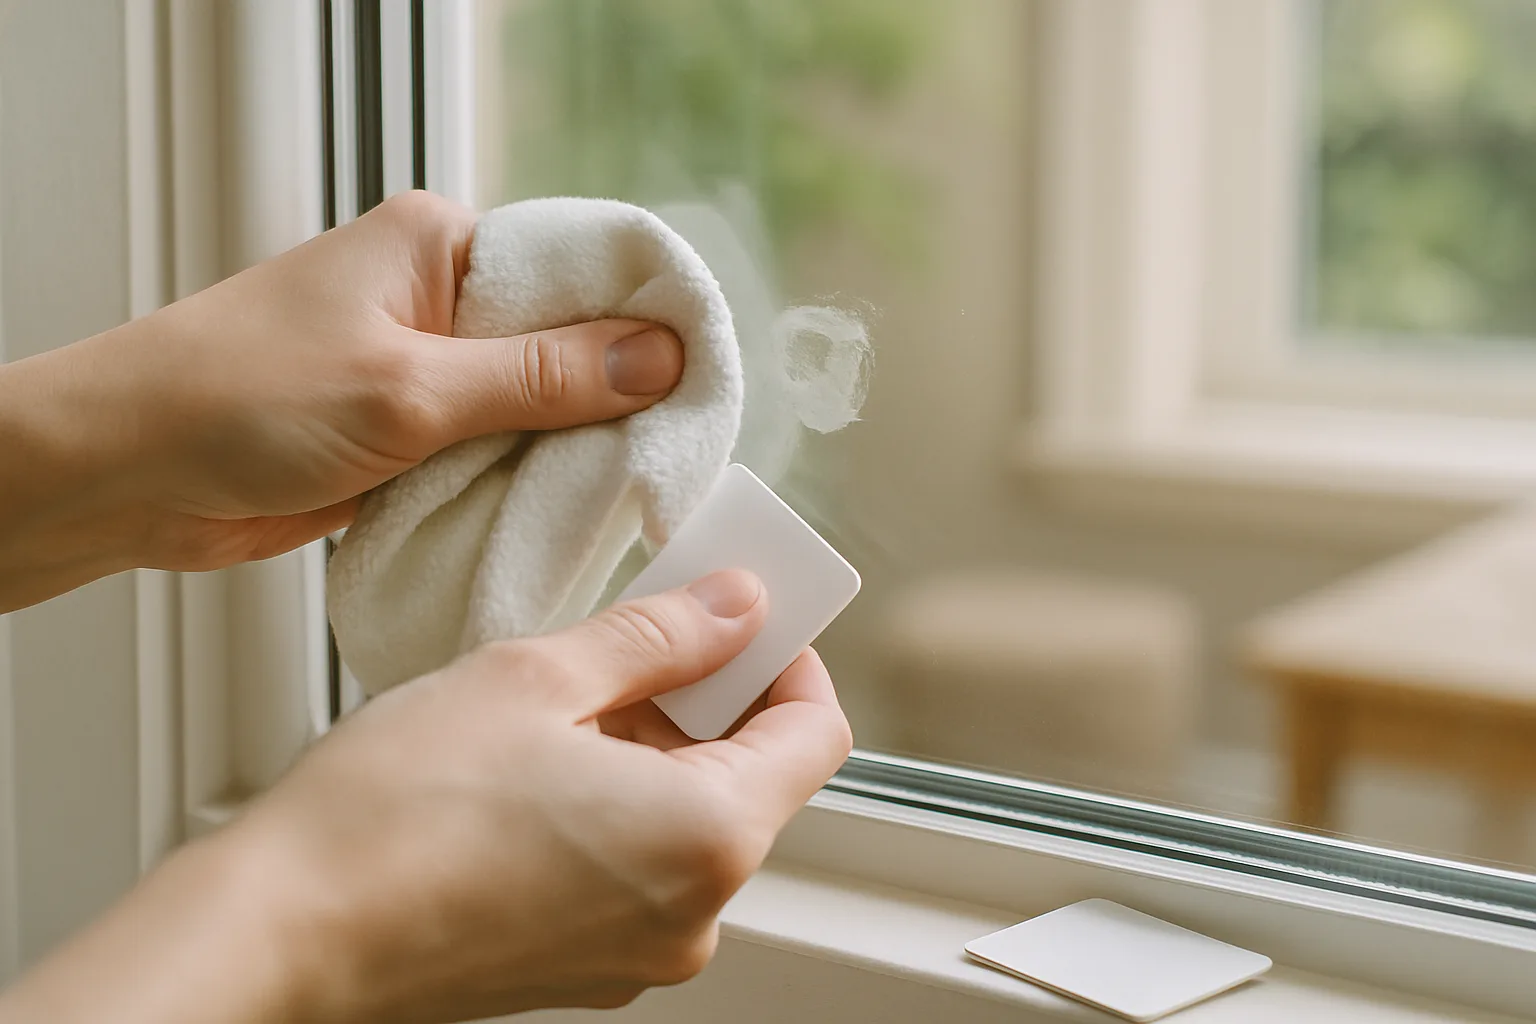
A sticker may peel away while its adhesive remains on the glass. Begin by identifying the surface and the item’s care instructions, then use the least aggressive permitted treatment. A washable glass jar, a coated window and an electronic screen are different cleaning jobs; harder scrubbing or a generic household solvent is not the safe default.
Why sticker glue sticks around
Many sticker adhesives are designed to stay flexible and grip a surface, rather than harden like glue. When the paper backing comes off, some adhesive can remain behind as a thin, tacky layer. Rubbing it dry may spread that layer or roll it into little clumps instead of removing it.
Glass itself is relatively hard, but that does not make every glass surface scratch-proof. Grit trapped under a cloth can scratch, and some glass products have coatings or films that are more delicate than the glass. A gentle approach protects both the surface and its finish.
Start with warm, soapy water
For fresh residue, or a sticker on a jar or other small washable item, begin with the mildest method:
- Peel away as much of the sticker as you can with your fingers. Pull slowly rather than digging at the edge with a fingernail or tool.
- Wet a soft cloth with warm water and a few drops of dish soap. Hold it against the residue for several minutes to give the moisture time to loosen the adhesive.
- Rub gently with the cloth. If a patch remains, repeat the soak rather than pressing harder.
- Rinse away the soap and dry the glass with a clean microfiber cloth.
For a removable item, you can soak it in warm, soapy water instead. Avoid sudden temperature changes: very hot water on cold glass can cause thermal stress, and some glass items may not be suitable for soaking. Check the item’s care instructions when in doubt.
Check permission before considering heat
Do not add a hair dryer simply because washing failed. Uneven heat may be unsuitable for an assembled window, mirror, coating or adhesive layer, and a low dial setting is not a compatibility test. Use heat only where the item’s maker permits that exact procedure; otherwise move to an approved cleaning product or ask the supplier.
Keep the glass at ordinary conditions rather than pouring hot water onto a cold pane. A hidden-area test does not override a manufacturer’s prohibition.
Choose a remover approved for the surface
Use a remover whose label permits both the glass surface and its adjacent materials. Goo Gone’s glass-sticker instructions are one documented product example: spot-test, allow the labelled treatment time, lift residue gently, and wash away the cleaner as directed. Do not apply that product’s timing or compatibility to a different solvent.
Ordinary cooking oil, mineral oil and baby oil are not interchangeable certified treatments for an unknown coating or frame. If the residue does not respond to the permitted method, stop before adding another substance. Keep products away from rubber, unfinished materials and any other surface excluded by the actual label.
Check compatibility before using alcohol
Alcohol is not automatically suitable because the pane looks like glass. The current Andersen cleaning guidance excludes alcohol-based cleaners for the window and door systems it covers, even though other glass products may have different care instructions.
Use a solvent only if both the item’s instructions and the cleaner label permit it for the exact surface. Keep any permitted flammable product away from ignition and heat, provide its specified ventilation and never mix products. The 3M safety sheet supports those ignition precautions; it does not certify a household cleaning method.
Tools and cleaners to avoid
A few tempting shortcuts can leave damage behind. Avoid steel wool, scouring pads, abrasive powders, and gritty sponges. They can scratch the glass or harm a surface treatment. Metal blades and razor scrapers can also scratch or chip glass, especially if used at an angle, on damaged glass, or on a surface with a coating. A plastic card or purpose-made plastic scraper is a safer choice for most household jobs.
Be cautious with stronger solvents such as acetone. They may affect paint, plastic parts, rubber seals, or finishes next to the glass, even if the glass itself appears unaffected. If you are considering a solvent, check the product label and the care instructions for the item, and test a hidden spot first.
Special care for coated glass and screens
Not every transparent surface is plain glass. Some windows and mirrors have coatings, and some have a film applied to the surface. Phones, tablets, and other screens may have delicate finishes, while certain appliance surfaces require specific cleaning methods. Do not assume that a technique suitable for a glass jar is safe for all of these.
Check the manufacturer’s instructions before using any remover, heat or scraper. If you cannot identify a coating or delicate surface, do not assume even a general glass-cleaning recipe applies. Ask the item’s supplier for a permitted method, and stop if the finish changes or a film lifts.
A simple order to follow
Identify the item and permitted cleaner first. On washable glass for which it is allowed, soften the label with soapy water and lift it gently. If residue remains, use only a compatible labelled remover, follow its method, and wash away residues as directed.
Stop for an unknown coating, changing finish or method that requires more force than you can control. The useful result is clean, intact glass and surrounding material—not removal at any cost.
You might also like
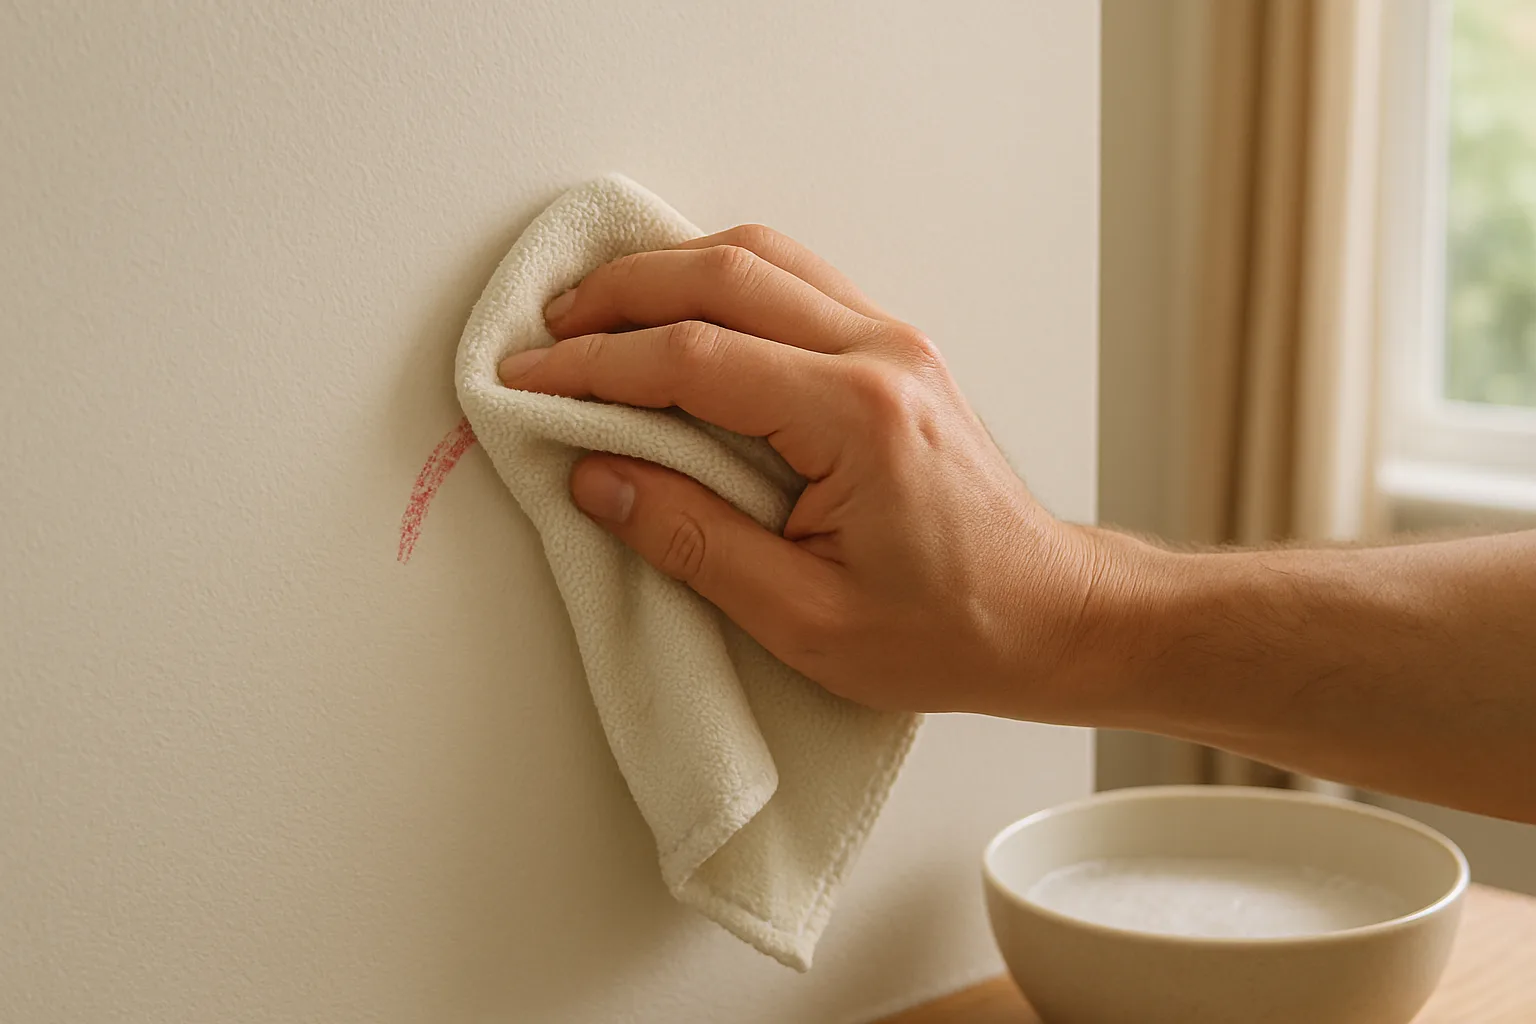
How to Remove Crayon Marks from Painted Walls Without Damage
Crayon marks can usually be lifted from painted walls with mild soap and a soft cloth. Learn a careful, low-risk method—and what to avoid.
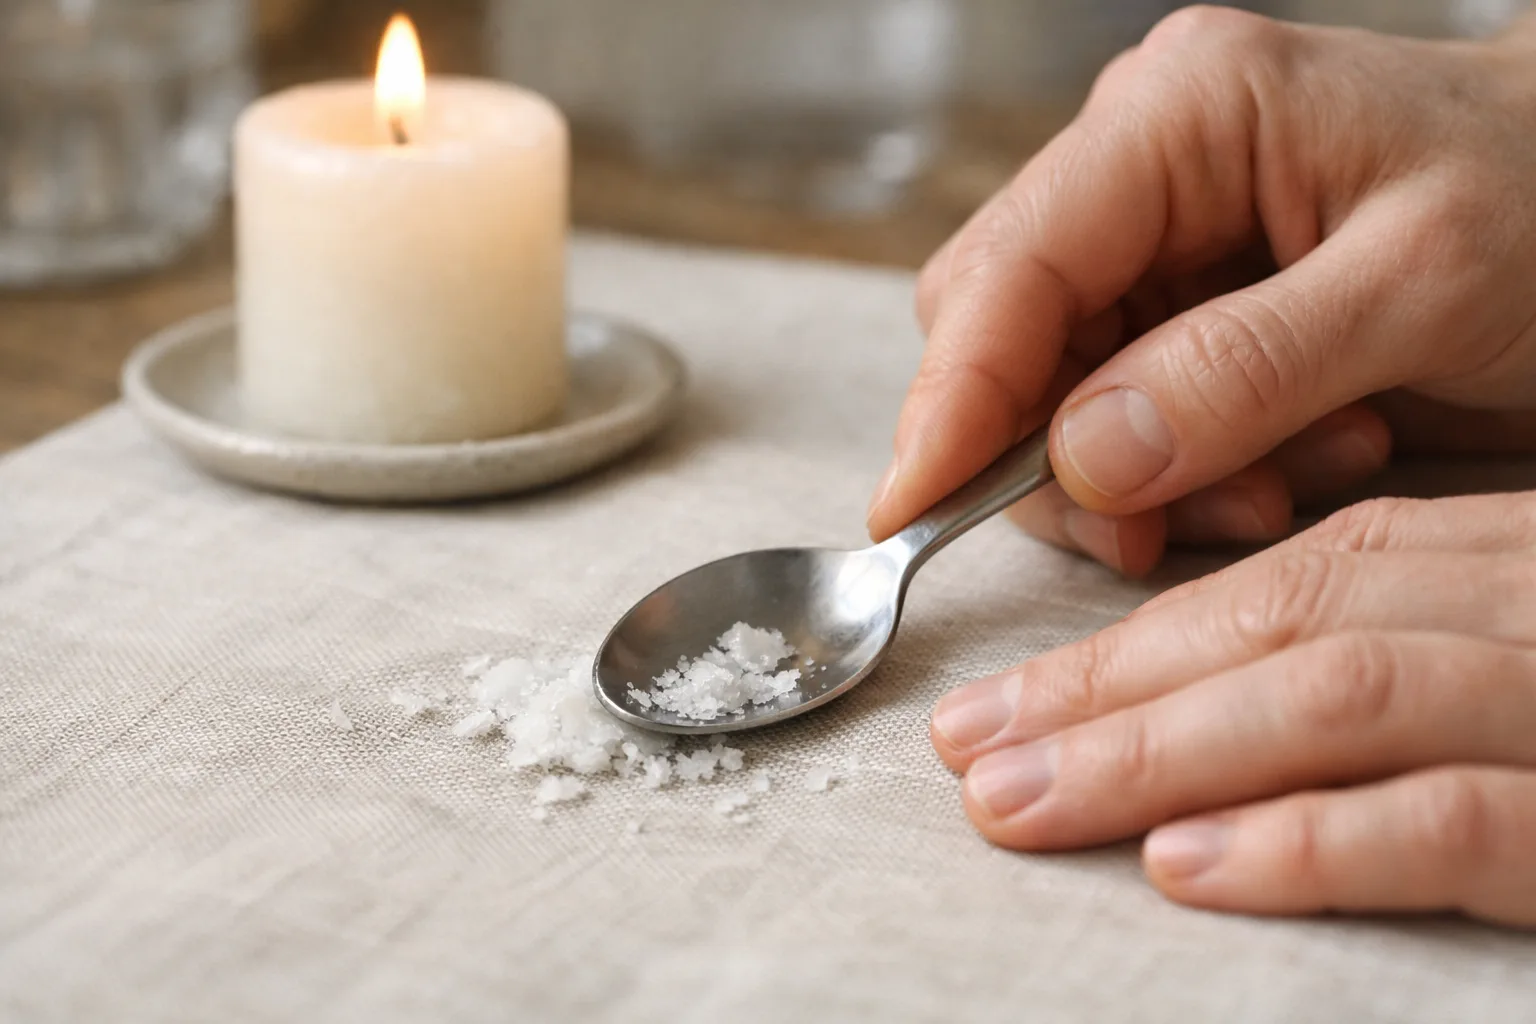
How to Remove Candle Wax from Fabric Without Damaging It
Candle wax can look like a permanent stain, but the right order makes removal easier: harden it, lift the excess, then treat any residue carefully.
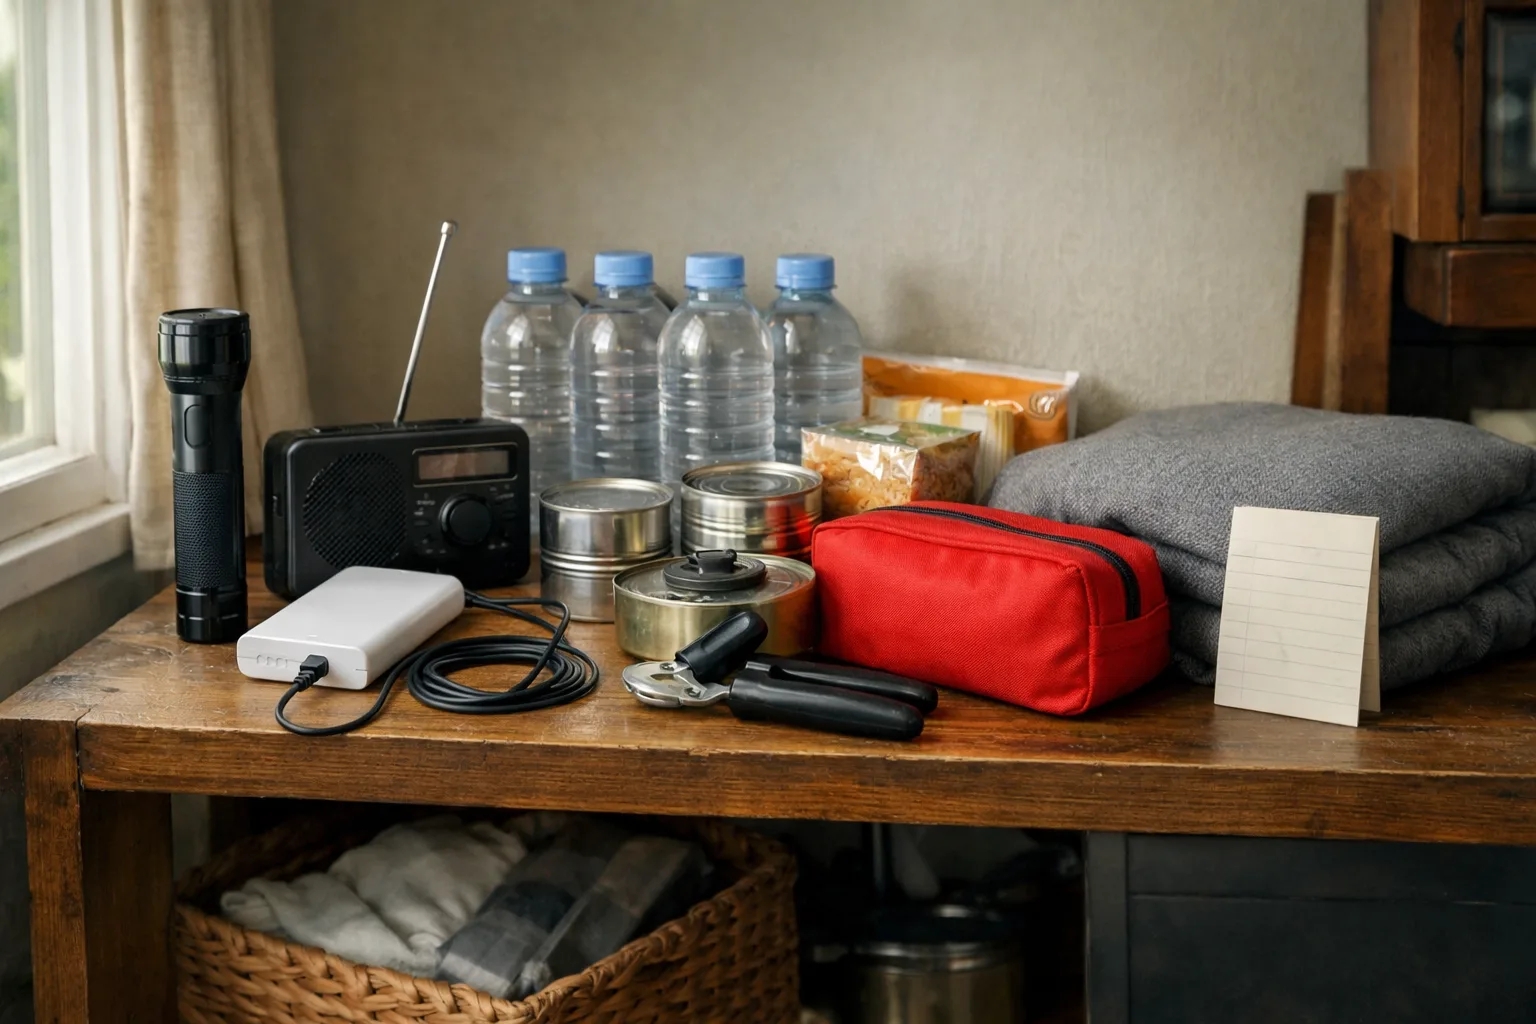
What to Keep in a Home Kit for a Power Outage
Build a practical outage kit with lighting, charged power banks, water, easy-to-eat food, essential medicines and supplies suited to your household.