How to Remove Candle Wax from Fabric Without Damaging It
By WowPebble Editorial
Candle wax can look like a permanent stain, but the right order makes removal easier: harden it, lift the excess, then treat any residue carefully.
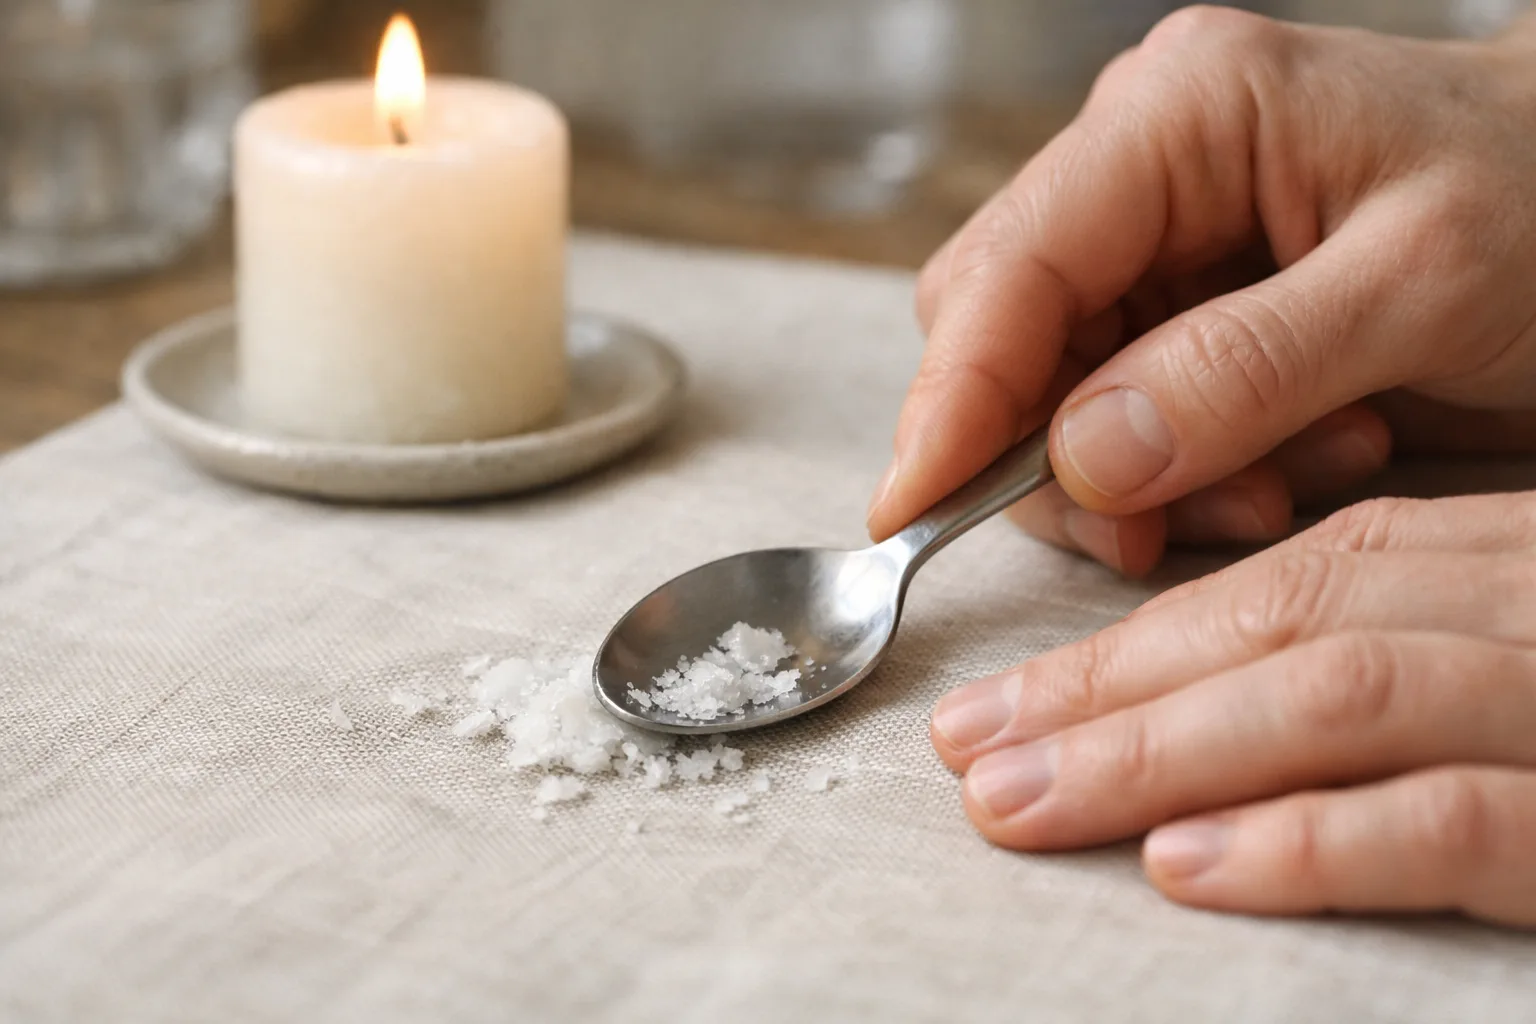
Candle wax seems to sink into fabric and set there for good, but a spill is usually manageable if you resist the urge to rub it. The key is to remove the hardened wax first, then deal with any oily or colored residue left behind. Work gently, check the fabric’s care label, and use as little heat or moisture as the material can safely handle.
Wax is different from an ordinary liquid stain: it cools into a solid that can be lifted away, while oils and candle dyes may remain in the fibers. Separating those problems—and tackling them in the right order—helps prevent a small spill from becoming a larger stain.
Start by checking the fabric
Before reaching for an iron or cleaning product, look at the care label. Cotton and linen can often tolerate more heat and washing than delicate or heat-sensitive materials. Synthetics such as polyester, acrylic, and nylon can be damaged by high temperatures, while silk, wool, velvet, and fabrics labeled “dry clean only” may need specialist care.
If the item is valuable, structured, lined, or difficult to clean at home, a professional cleaner is the safer choice. The same goes for upholstery with a care code you don’t understand. When in doubt, test a cleaning method on a hidden spot and let it dry before treating a visible area.
Step 1: Let the wax harden
If the wax is still soft, leave it alone until it cools. Blotting, wiping, or rubbing warm wax can press it deeper into the weave and spread it across a wider area.
To speed things up on a washable garment, place it in the freezer for a short time. For larger items, hold a sealed bag of ice against the wax. Keep the ice or bag from making the fabric wet. Once the wax is brittle, gently flex the material to loosen it.
Step 2: Lift off the solid wax
Use the edge of a spoon, a blunt butter knife, or a plastic card to lift the hardened wax. Work from the outside of the spill toward the middle, taking off small pieces rather than scraping forcefully. A sharp blade can cut fibers or snag the weave, so avoid it.
Remove as much as you can without pulling at the fabric. If the wax softens while you work, pause and let it harden again. On a delicate fabric, stop if scraping seems to distort the surface; careful professional cleaning is preferable to damaging the fibers.
Step 3: Draw out the remaining wax
A thin, greasy-looking patch may remain after the solid pieces are gone. For sturdy, heat-safe fabric, you can use gentle warmth to transfer this residue to absorbent paper.
- Place the stained area between clean sheets of plain, unprinted paper or white absorbent cloth. Put a protective layer underneath as well, so wax cannot transfer to the ironing board or another part of the item.
- Set an iron to the lowest temperature permitted by the care label. Turn off the steam.
- Press briefly, without sliding the iron. Lift it and check the paper. Move to a clean section as wax transfers, then repeat only as needed.
Keep the iron moving between presses and never let it touch the wax directly. Avoid this method on heat-sensitive synthetics, delicate fabrics, and anything labeled for dry cleaning. High heat can melt or flatten fibers, and steam or moisture may cause other problems. If the label gives no clear guidance, skip the iron and ask a cleaner.
Step 4: Treat any oily or colored mark
Once the wax itself is gone, inspect the fabric in good light. Candle fragrance oils or colored wax can leave a mark that needs separate treatment. For a washable item, apply a small amount of liquid laundry detergent or a fabric-safe stain remover to the spot, following the product label. Gently work it in with your fingertips or a soft cloth; don’t scrub hard.
Let the treatment sit for the time recommended on its label, then wash the item at the warmest temperature allowed by its care tag. Use a detergent suitable for the fabric and check that the stain has disappeared before drying. If a colored mark remains, repeat the treatment rather than putting the item in a hot dryer.
For upholstery, use a product only if its label says it is safe for that fabric. Apply it sparingly to a cloth rather than pouring it onto the surface, and blot instead of soaking. Excess liquid can leave a water mark or affect the padding beneath the fabric. Follow the upholstery maker’s cleaning instructions, or call a professional if the stain persists.
Common mistakes to avoid
- Rubbing while the wax is warm: This can spread the spill and push wax into the weave.
- Scraping with a sharp knife: It may cut, snag, or permanently roughen the fabric.
- Using high heat: A hot iron or dryer can damage synthetic fibers and set remaining color or oily residue.
- Using printed paper: Ink can transfer when warmed. Choose plain, unprinted absorbent paper or clean white cloth.
- Pouring on a solvent or household cleaner: Products can discolor fabric or leave their own residue. Check the label and test a hidden area first; don’t mix cleaning products.
- Putting the item in the dryer too soon: Heat can make a leftover stain harder to remove. Air-dry until you’re sure the mark is gone.
What if the wax is on a delicate fabric?
For silk, wool, velvet, embellished fabric, or a garment marked “dry clean only,” remove only loose, hardened pieces with a gentle touch. Don’t iron, soak, or apply stain remover unless the care instructions specifically allow it. Tell a professional cleaner what kind of candle wax spilled and whether it was colored or scented; that information can help guide treatment.
The same cautious approach applies to large spills and old stains. Repeated scraping or aggressive cleaning may do more harm than the wax. A cleaner can assess the fabric and choose a method suited to its fibers and finish.
The safest order to remember
Let the wax cool, harden it further if needed, and lift away the solid pieces. Use gentle heat to draw out residue only when the fabric can safely tolerate it. Treat any remaining mark according to the care label, and keep the item out of the dryer until it looks clean. Patience matters: a few careful steps are usually more fabric-friendly than trying to remove the whole spill at once.
You might also like
How to Remove Crayon Marks from Painted Walls Without Damage
Crayon marks can usually be lifted from painted walls with mild soap and a soft cloth. Learn a careful, low-risk method—and what to avoid.
How to Remove Sticker Residue from Glass Without Scratching It
Lift stubborn sticker glue from windows, jars, and mirrors with gentle methods that soften the adhesive and protect the glass from scratches.
How to Remove Water Rings from Wood Furniture Without Making Them Worse
A pale water ring may involve the finish, but colour alone cannot diagnose it. Check the surface and care guidance before trying a treatment that could worsen it.