How to Tie a Bowline Knot—and When to Use It
By WowPebble Editorial
A bowline forms a fixed loop, but it can loosen without tension and needs careful inspection. Learn its tying sequence and the limits of this general-use guide.
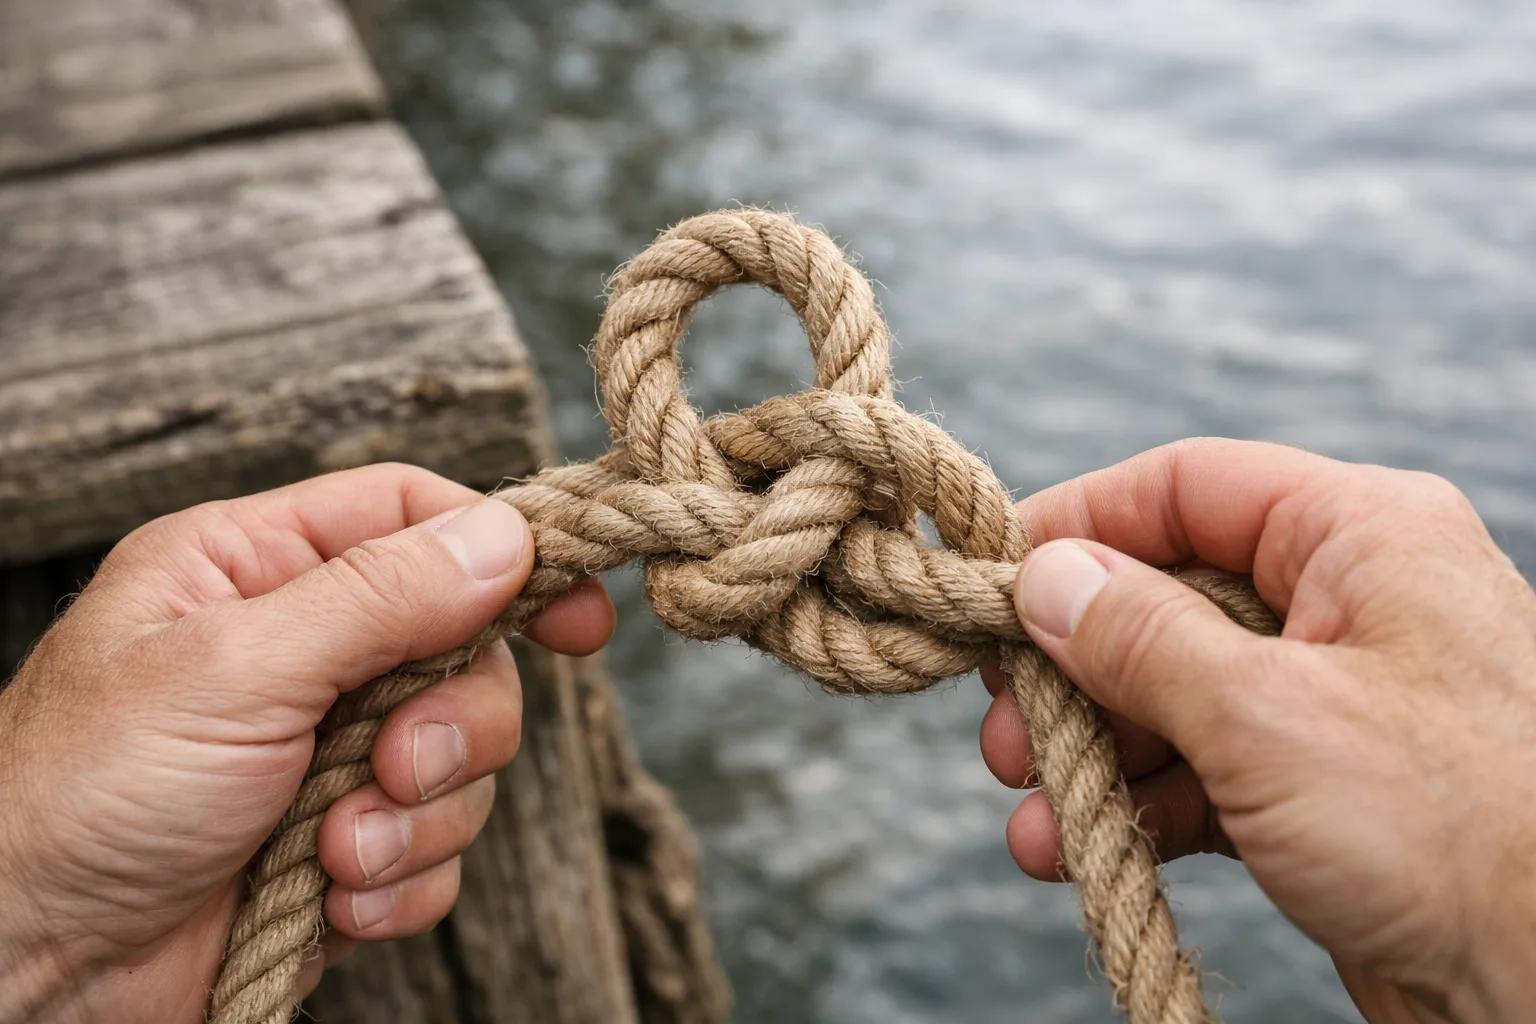
A bowline is a practical knot with a neat trick: it creates a fixed loop at the end of a rope, and that loop generally stays the same size under a steady pull. It is also usually easier to untie after loading than many other knots. Those qualities have made the bowline a familiar choice in boating, camping, and general rope work—but it is not the right knot for every job.
The basic method is easy to remember: make a small loop, pass the working end through it, take it around the standing part, then feed it back through the loop. Here’s how to tie it, check it, and decide when to use something else.
What makes a bowline useful?
Every rope has a working end—the end you move while tying—and a standing part, the longer section that carries the load. A bowline ties a loop at the working end. When the standing part is pulled, the knot tightens around the base of that loop rather than shrinking it closed.
That makes it useful when you need a loop to place over a post, pass through a ring, or hold around an object. Unlike a sliding loop, a properly tied bowline is not designed to cinch down as the rope is pulled. It also tends to remain easier to undo after a steady load than a simple overhand knot tied in the same way.
The bowline has a long association with working ropes and maritime use. Its exact history is difficult to pin down, but its practical appeal is straightforward: it can be tied at the end of a line, inspected by eye, and released without the knot becoming an immovable lump.
How to tie a bowline, step by step
Use unloaded practice rope for a non-critical task and follow the creator’s illustrated standard sequence alongside these steps. Keep enough free end for the loop and a substantial tail.
- Lay the rope as in frames 1–2 of the linked sequence: standing part upward and the length for the large loop below. Form the small loop with the same crossing shown in frame 2. Keep that orientation for the following steps.
- Leaving the required large loop below, feed the working end through the small loop from behind toward you, as in frame 4.
- Pass the end behind the standing part and around it, as in frame 5—not around a strand of the large loop.
- Bring the end back down through the same small loop, away from you and opposite its first passage, as in frame 6.
- Dress the strands together and compare the finished structure, including the tail inside the large loop, with the illustrated standard form. Do not rely on a rough resemblance.
How to check your bowline
Compare the whole geometry with the illustrated standard bowline sequence, not just the rabbit mnemonic. In that standard form the tail lies inside the large loop; changing the route around the standing part changes the form. If you cannot match the crossings, do not rely on a familiar-looking bundle. The source's illustrations and use limits matter more than a quick pull alone.
For unloaded practice, check the dressing with a gentle pull in the intended direction. This is not a strength test or approval for a critical load. If the knot shifts, the tail pulls through, or the loop changes shape unexpectedly, stop and retie it. A knot can look familiar but still be tied incorrectly, especially when you are learning or working quickly.
When to use a bowline
A bowline is handy when you need a fixed loop at the end of a rope and expect a steady, predictable pull. For example, you might use one to attach a line to a ring or post, make a loop for handling a piece of gear, or secure a rope around an object when you do not want the loop to tighten like a noose. In boating and everyday outdoor tasks, it is valued for being relatively quick to tie and usually manageable to untie afterward.
It can also be useful when the end of a rope must pass through an opening before the loop is tied. The bowline is tied at the end, so you do not have to pass a large fixed loop over an object first. Whether that is convenient depends on the setup and the rope’s path.
Think of it as a general-purpose knot, not a guarantee of safety. Rope material, diameter, condition, the direction of pull, and the way the knot is tied all matter. Knots also reduce a rope’s strength to some degree, and a rope that is worn, damaged, or unsuitable for the task should not be trusted just because the knot is familiar.
When a bowline is not the right choice
A standard bowline can loosen or become unreliable if it is repeatedly unloaded and loaded, shaken, dragged, or subjected to changing directions of pull. It may also be a poor choice with some slick or stiff ropes. If the knot will be exposed to movement, slack, or vibration, choose a knot suited to those conditions and secure the tail as appropriate. For a critical task, consult reliable training or guidance for the specific rope and application.
Do not treat an ordinary bowline as a climbing knot or as a stand-alone life-safety connection. Climbing, rescue, and other situations where knot failure could cause serious injury require appropriate equipment, training, and a connection method approved for that use. A familiar knot is not automatically a safe one for a high-consequence job.
Untying and practicing
After a steady load, a bowline is often easier to loosen than a knot that has been pulled tight along its full length. To untie it, push or flex the knot’s curved section to create slack, then work the working end back through the small loop. Heavy loads, dirt, wet rope, or a poorly dressed knot can make this harder.
Release all load before attempting to untie it. The creator's guide specifically warns that a bowline cannot be tied or untied with load on the standing part; it is not a quick-release connection under tension.
Practice with a short piece of rope until you can tie and inspect the knot without guessing. Try tying it around a post, then untie it and repeat. The useful skill is not just making the rabbit go around the tree: it is recognizing the finished structure, leaving a sufficient tail, and knowing when the conditions call for a different knot.
You might also like
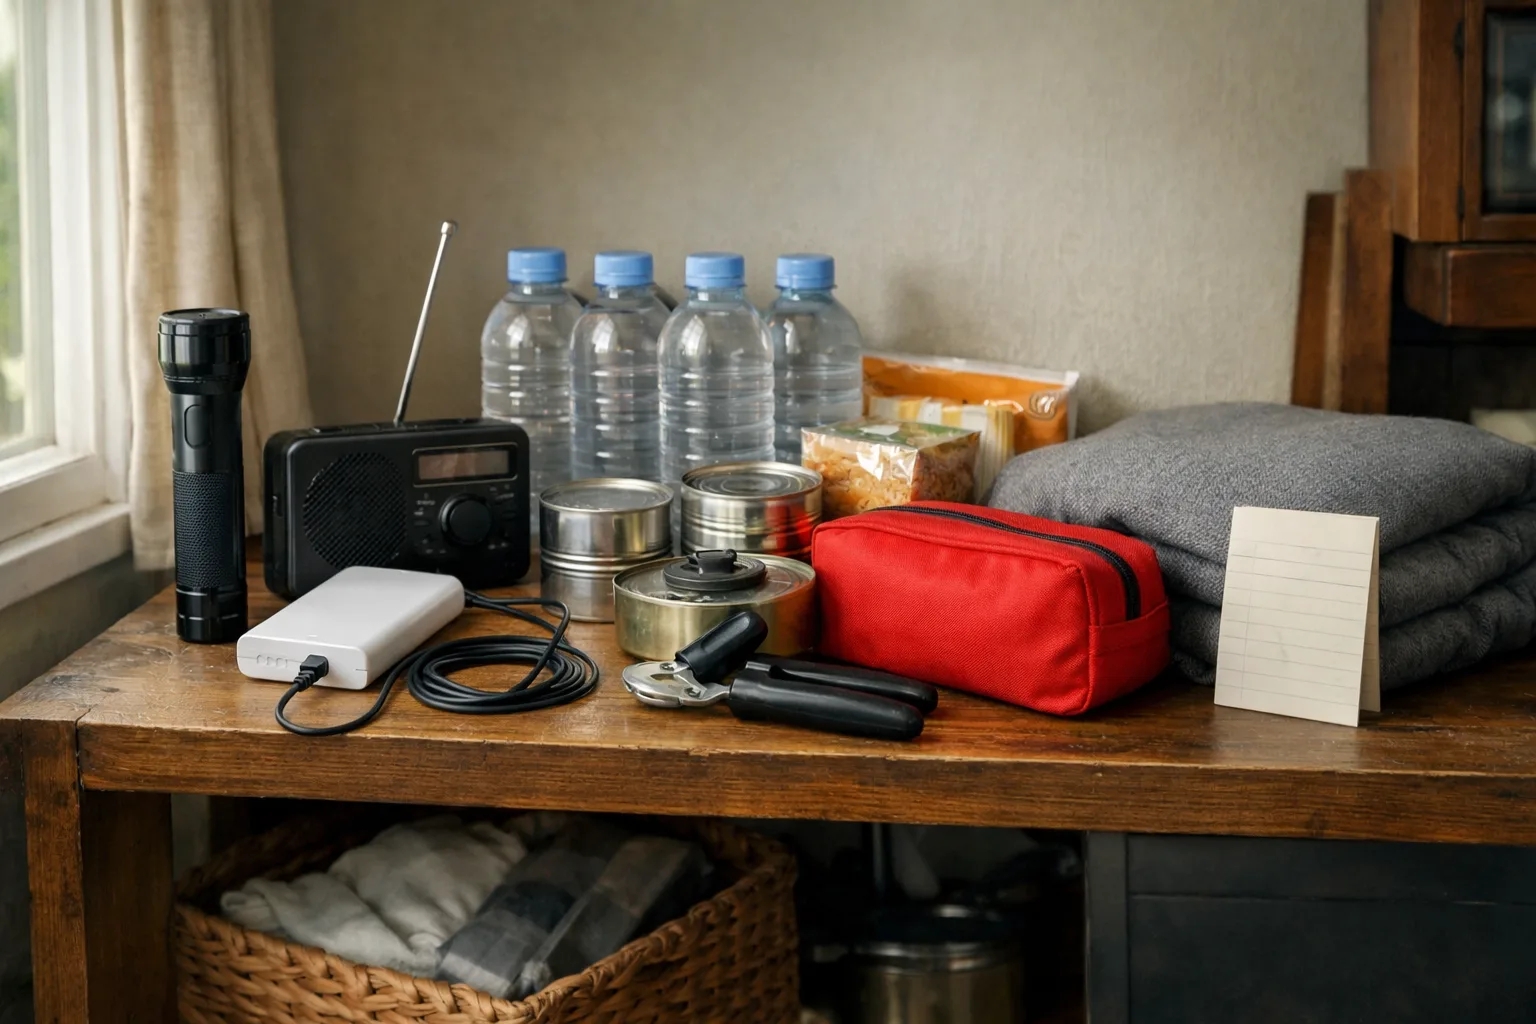
What to Keep in a Home Kit for a Power Outage
Build a practical outage kit with lighting, charged power banks, water, easy-to-eat food, essential medicines and supplies suited to your household.
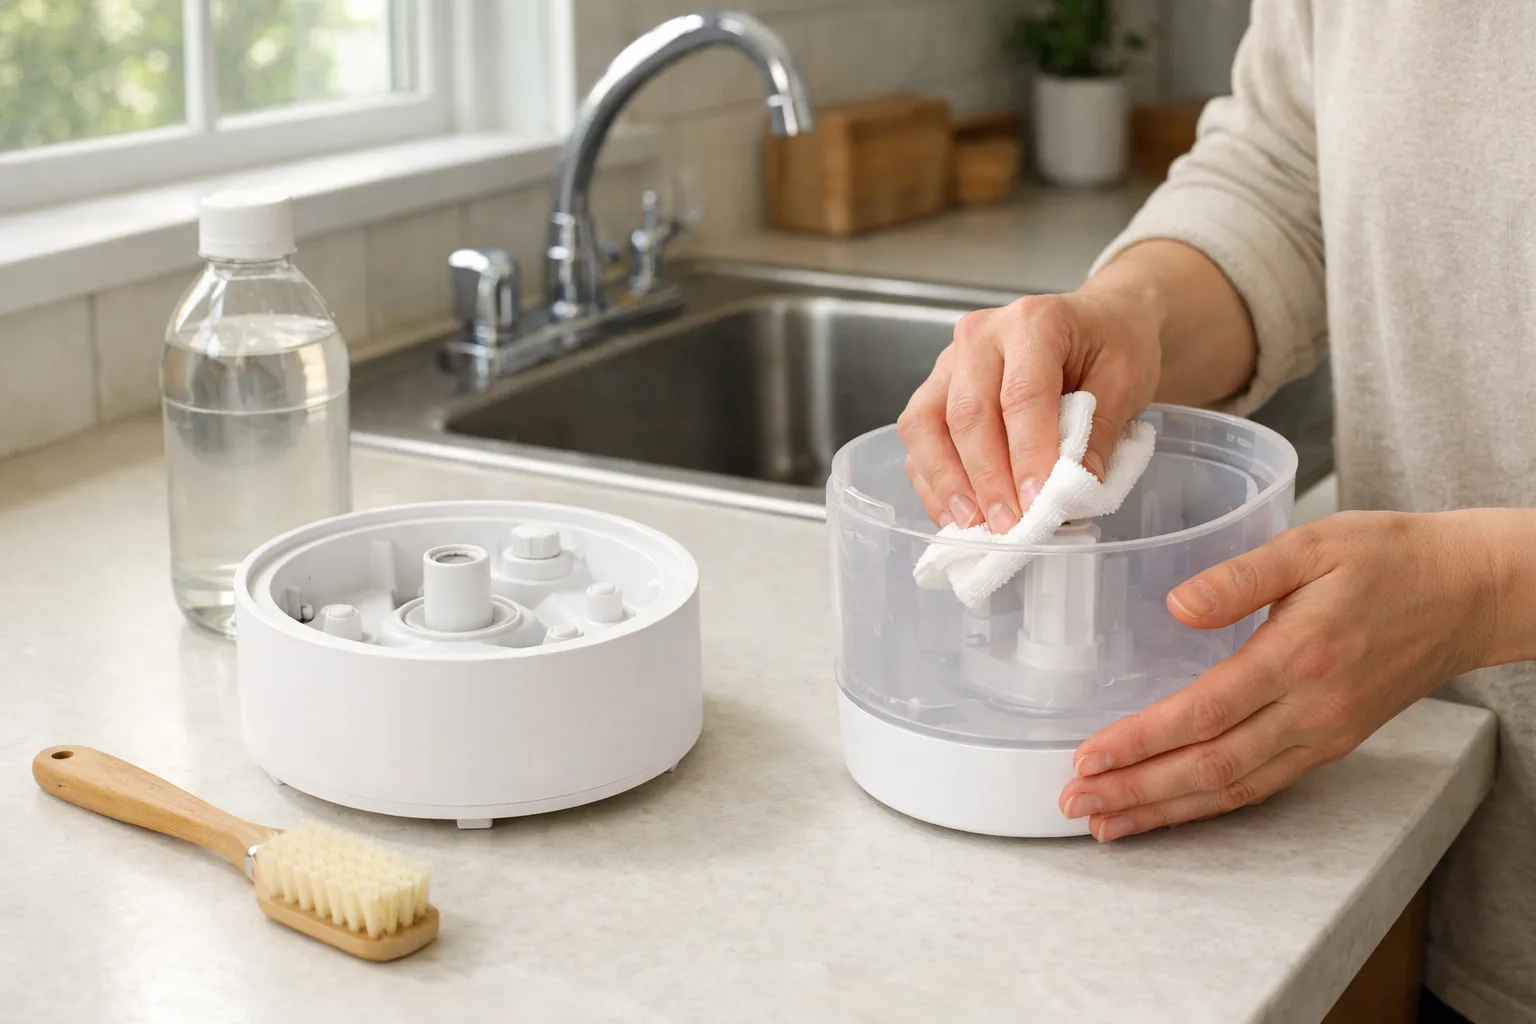
How to Clean a Humidifier and Stop Mineral Buildup
Clean your humidifier regularly to remove scale and reduce residue. Learn how to descale it safely, care for filters and prevent mineral buildup.
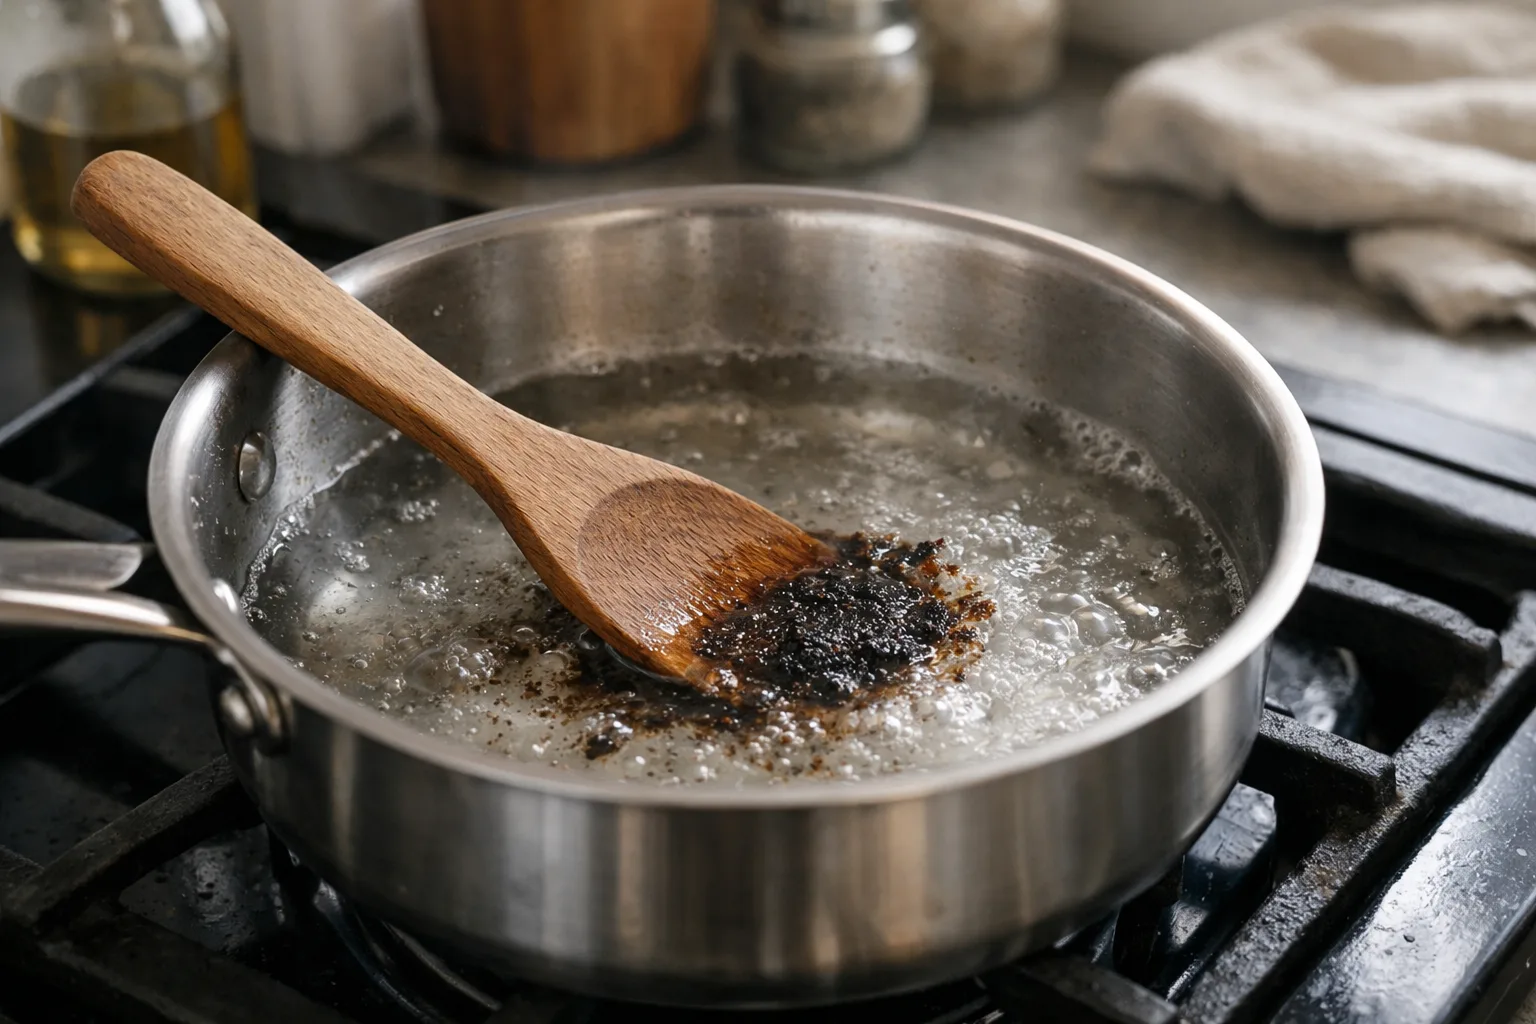
How to Remove Burnt Food from a Stainless Steel Pan
Loosen burnt-on food from a stainless steel pan with hot water and gentle scraping. For stubborn residue, add baking soda and scrub without damaging the finish.