How to Fold a Fitted Sheet Without Fighting the Corners
By WowPebble Editorial
A fitted sheet’s elastic edges make it awkward to fold—but nesting the corners first turns the unruly bundle into a neat, manageable rectangle.
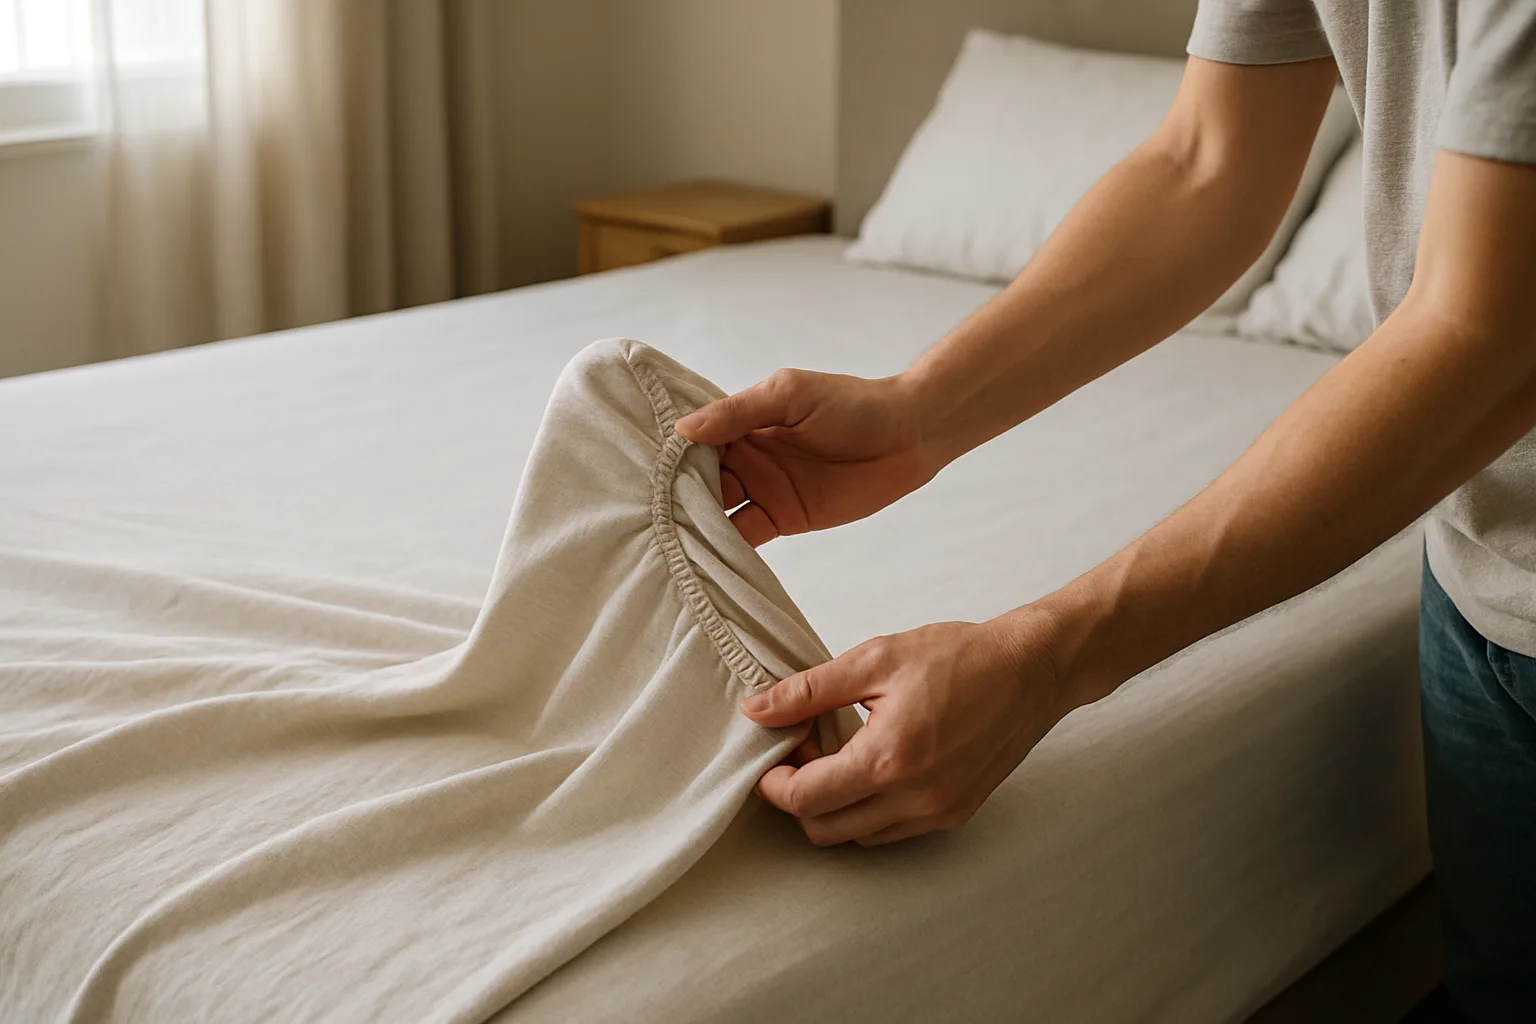
A fitted sheet can seem determined to fold itself into a lumpy ball. Its elastic corners bunch up, the edges refuse to lie flat, and each attempt to smooth it can undo the last one. The trick is to stop treating it like a flat sheet: tuck the corners into one another first, then fold the fabric into a rectangle.
Once the corners are nested, the elastic edge is easier to manage. No special tool or perfect fold is needed. Use a bed or another clear flat surface to support the first pair while working on the remaining corners.
Why fitted sheets are tricky to fold
A flat sheet has straight edges, so it can be folded into matching halves. A fitted sheet has a pocket at each corner and elastic running around its edge. Those curved, gathered sections won’t naturally line up with a neat rectangle.
Trying to flatten the whole sheet at once often creates extra fabric in the middle and corners that spring out of place. Nesting the corners gives the sheet a more regular shape before you start folding. The result doesn’t have to look store-perfect; it just needs to be flat enough to stack or store.
The corner-nesting method
Start with a dry sheet and enough space to hold it open. A bed is convenient, but you can also stand with the sheet in your hands. If it’s a large sheet or the fabric is slippery, a clear patch of floor or a table can make the job easier.
1. Find the corners at one end
Hold the sheet lengthwise, with the elastic edge facing you. Put one hand inside each of the two corners at the same end. The seams should sit over your hands, and the rest of the sheet should hang down between them.
It doesn’t matter whether you begin at the head or foot end. If the sheet is twisted, give it a quick shake and check that you’re holding two neighboring corners rather than corners from opposite ends.
2. Nest one corner inside the other
Bring your hands together. Slip one corner over the other, as if you were turning one pocket inside another. Adjust the fabric until the seams line up and both corners sit neatly together on one hand.
Don’t worry if the elastic edge looks a little bunched. The aim is to make a tidy stack of corners, not to stretch the elastic into a straight line.
3. Repeat with the other end
Lay the first nested pair on the clear surface so it stays together. With both hands now free, find the two corners at the opposite end, put a hand inside each, and nest those two together. Keep both pairs supported until you are ready to bring them together.
You should now have a pair of corners at each end. Bring the two pairs together and place one nested pair over the other. Tuck the corners into one another as best you can, keeping the seams aligned. You’ll end up holding a compact stack of all four corners.
If the corners don’t sit together on the first try, separate them and check their direction. Fitted sheets can twist easily, especially while you’re learning the movement. A quick reset is faster than wrestling with a crooked bundle.
4. Lay the sheet down and make a rectangle
Place the corner stack on a flat surface. Arrange the sheet so the elastic curves are gathered together along one side. Smooth the fabric outward from the corners, using your free hand to ease wrinkles toward the edges.
Fold the uneven elastic edge inward. Then fold the opposite side over it to create a long, straighter strip. You can adjust the width to suit the shelf or drawer where you keep your sheets.
5. Fold the strip into a compact bundle
Fold the strip in half lengthwise if it’s still too wide. Then fold it into thirds or quarters, depending on how much storage space you have. Press lightly with your hands after each fold to keep the bundle from opening.
There’s no single correct final size. Matching the folded bundle to your linen shelf is more useful than aiming for a particular number of folds.
A simpler method for when you’re in a hurry
If nesting all four corners feels fiddly, use a bed or other flat surface and fold the corners inward one at a time. Lay the sheet down with the elastic edge facing up. Bring each corner toward the center so the elastic curve is contained inside the fold. Then fold the sides inward to make a rough rectangle and fold that rectangle into a bundle.
This approach may leave a less precise stack of fabric, but it works well for everyday storage. The important part is to tuck the elastic edges in before making the final folds. That keeps them from catching or poking out of the bundle.
Small adjustments that make folding easier
- Use the seams as guides. The seams help you identify the corners and check that the layers are lined up.
- Keep a light grip. Pulling hard on elastic can stretch the fabric out of shape and make the sheet harder to control.
- Fold on a large surface when needed. A bed lets you smooth the fabric without balancing the entire sheet in your hands.
- Don’t chase every wrinkle. A few creases won’t affect how the sheet works. Focus on containing the corners and elastic.
- Fold while the sheet is fully dry. Damp fabric can feel heavier and may not stack as neatly.
With practice, the corner-nesting motion becomes a quick habit. Even if your first attempt ends in a slightly uneven rectangle, the sheet will still be easier to store than a loose, tangled bundle. Nest the corners, tuck in the elastic, and let the rest of the fold be simple.
You might also like

How to Pack a Suitcase So Clothes Wrinkle Less
Pack fewer items, use loose rolls for casual clothes, and fold structured garments along their seams. These simple steps help limit creases in transit.

How to Store Potatoes So They Sprout More Slowly
Keep potatoes cool, dark, dry and well ventilated to slow sprouting. Learn which containers work, where to store them and what to avoid.

How to Get Garlic Smell Off Your Hands
Garlic smell can linger after chopping, but a thorough wash with soap and water usually helps. Here’s how to clean your hands—and what to try if the odor remains.